I’m loving this dehydrator a coworker of Michael’s gave him. So far, I’ve made Fruit Leather and a bunch of dried fruits and vegetables. Below are some of my experiments. Everything was dried at 115*F to keep it raw. I run the dehydrator all day then turn it off at night (or when going out) and run it again the next day. Most things took 12-15 hours.
Bananas:
I sliced the bananas in half (thirds for longer ones) then lengthwise into 3 or 4 strips, and placed them on the tray. As close together as possible without overlapping.
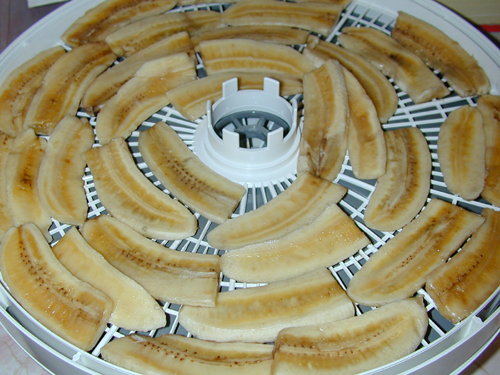
They came out smaller but not as tiny as some of the other foods. I couldn’t get them crispy though, even though I ran them through the dehydrator for several days. They were leathery and chewy and really delicious. They were also dried plenty for safe storage.
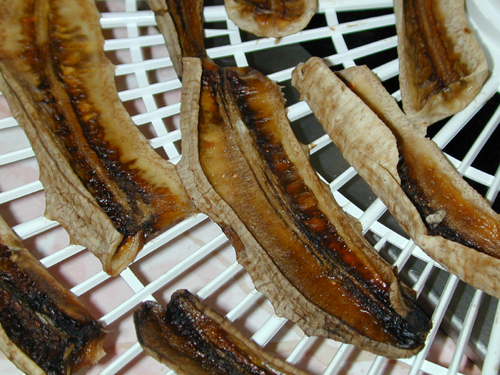
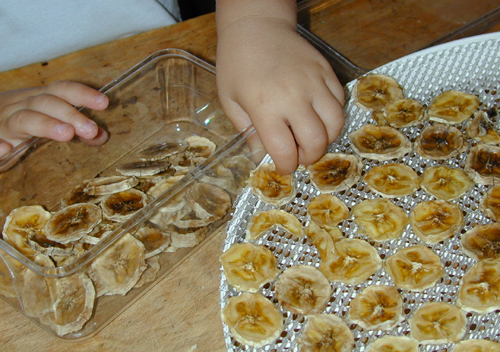
My first attempt to make them was with banana chips. The results were similar but arranging all those chips on the tray was a pain, so the strips are easier.
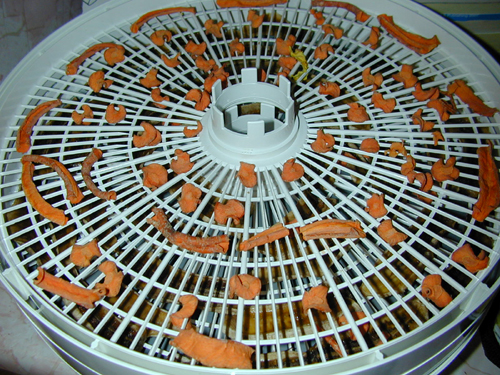
Carrots:
I tried both chips and strips here.
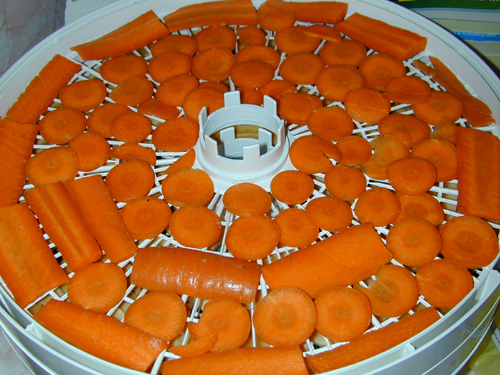
Like with the bananas, I never managed to get them crispy, though they were close. These shrunk up like crazy and some of the chips fell through the grate. The chips would be good in soup I think. These were tasty.
Beets:
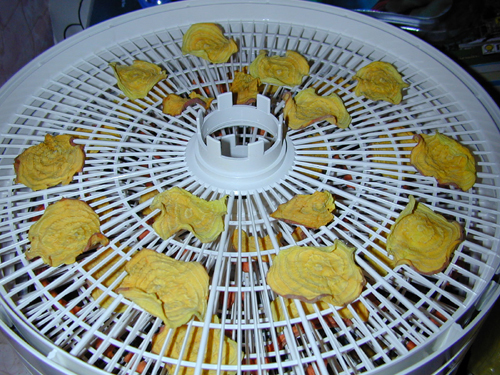
I’ve made beet chips, with both red and golden beets, many times, and they have come out reasonably well. I got them crispy and firm and able to be used for eating hummus. I cut them by hand and dried them in the oven, at 150*F (the lowest I could go). They work well in a convection oven. But I had trouble with some burning or over-drying and also with the thickness.
I have been looking forward for a long time to making the chips with a mandolin (which I bought a few months ago) and a dehydrator. But these were a disappointment. The chips I made in the past tasted wonderful, but these were bitter. Maybe it was the beet I used, not the method. I think the slices were too thin also. I can set the mandolin thicker, or I can cut by hand.
And I never got them past the leathery stage. Maybe I’m being impatient, but it did seem that they got to leathery and then stayed there for hour upon hour of additional drying. The other items were the same.
I’ll keep experimenting though, because I really do love beet chips.
This is one large beet. It covered two trays.
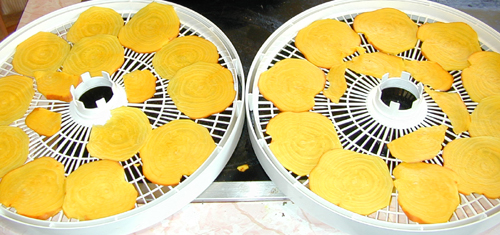
This is what it it came down to. You can see the other tray under the top one. This is about the amount of shrinkage I got from oven drying.
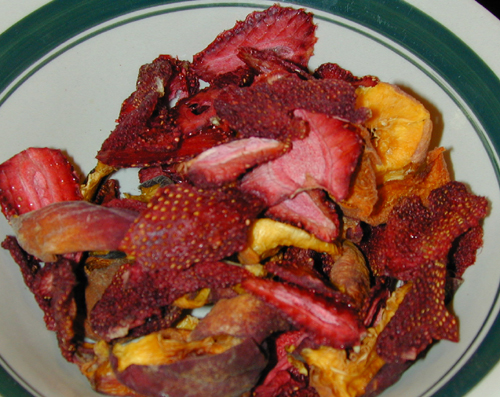
Strawberries and Peaches:
A few apricots made it into the mix too.
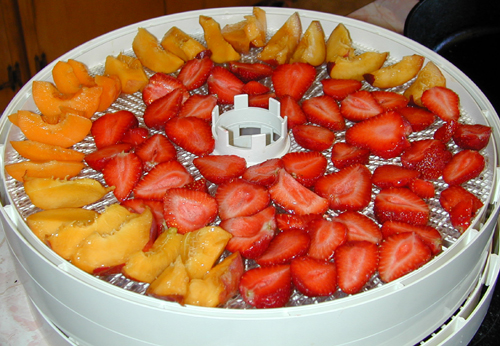
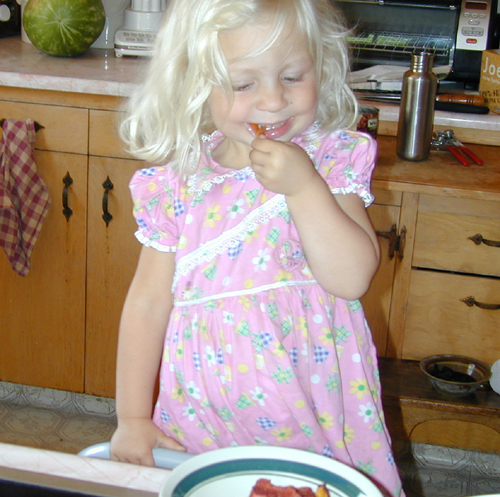
Oh wow, these were amazing. The peaches stayed a bit juicy (but were still storage safe) and all the fruits were chewy and stick-to-your-teeth delicious. Despite having plenty of the fresh versions around to eat, Miriam is begging me to make more. “Can you make some more of these chips?…Will you do it right now?”
Happiness is a dried peach.


8 responses so far ↓
1 Maeve // Jun 18, 2008 at 12:04 am
Thank you very much! I have just got a dehydrator, and I have been scouring the internet for before and after pictures like those you have posted – you have answered a lot of questions for me. My reason for getting a dehydrator was an attempt to recreate a gluten-free wrap I had in a vegetarian restaurant in Dublin. It resembles a fruit leather, only made from carrot, courgette and apple, and it is pliable. I am still working on a recipe…
2 admin // Jun 18, 2008 at 12:24 pm
Glad I could help. Please consider this a formal request for a recipe for that wrap once you get the recipe down. Yum!
Cyndi
3 Grace // Oct 19, 2010 at 6:17 am
Thank you so much! My food dehydrator arrived yesterday and I havent used it yet, but I wanted to see pics of how to lay out the fruit as the manual is a bit vague! Your pics have been so helpful to me – thanks so much 🙂
I cant wait to get to going! x
4 M. Charlot // Jan 29, 2011 at 6:09 pm
Thanks for showing your experiments. Do you mean that you still could not get the banana chips and sweet potato chips crispy till today? It will be great if you could update when you managed to get them crispy so that we could learn from it. Thanks!
5 admin // Jan 29, 2011 at 6:23 pm
No, they never got crispy. But I liked them chewy. I haven’t done too much with that dehydrator because it’s not a simple setup. I would love a better one. What do you like to use? I’m drooling over the idea of an oven with a built-in dehydrator but, unfortunately, my current oven is still working 🙂
Cyndi
6 Ariella // Jun 17, 2011 at 4:45 am
I find if you dip the bananas in lemon juice before dehydrating, they don’t go brown. Also gives a nice flavour.
7 Nichole // Jan 6, 2013 at 2:36 pm
you can get the bananas crispy by slicing them a little thin (u may need to spray your trays w pam to make sure they don’t stick), putting HALF the amount of bananas on the tray and spacing them out much more (double the space in between) . they need more room between each one so they aren’t rehydrating eachother due to crowding (steam). the air needs to ciculate much more. also rotate your trays 2-4 times until they’re all the way dry and turn them over halfway. if it takes 24 to 48 hours that’s fine. good luck 🙂 dip them in sugar/lemon juice w a dash of water before drying.
8 Cyndi // Jan 6, 2013 at 3:09 pm
Thanks for the tips, Nichole!
Leave a Comment