

My daughter adores Lara Bars, which are raw (dehydrated) bars of a very smooth date paste mixed with finely minced nuts and various flavorings. Unfortunately, they’re not organic and they’re expensive. Even the Costco box (only 3 flavors) is still nearly a dollar a bar. Other flavors cost $1.20/bar and more.
I’ve tried my hand at making them before with varying degrees of success. The secret to the Lara texture is to food process the heck out of them (or to use a blender with some extra water)…save the nuts to add in after. I like them with a bit more texture though, and adding water just means you have to cook/uncook them longer which also changes the texture.
Tip: rough chop the dates with a big knife on the cutting board. The whole (or even half) ones will stick to the food processor blades and make it impossible to do anything.
This time I tried Miriam’s current favorite flavor, banana. The dates weren’t organic, because I found a big thing of them cheap at Costco, but I usually use organic and, now that I’ve got the recipe down, will find the good ones to mail order.
No measurements. I processed the dates in two batches. Here is batch one:
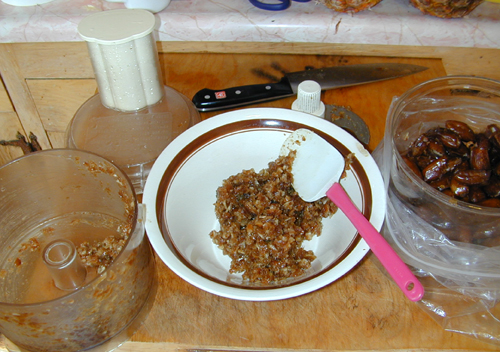
Note the chunky texture. That really made the difference in the bars. I had to add a touch of water to get them going (the amount will vary with the dates). Do be sure to go through every date with your hands before putting in the processor. I found one pit and several little end caps in the dates I used.
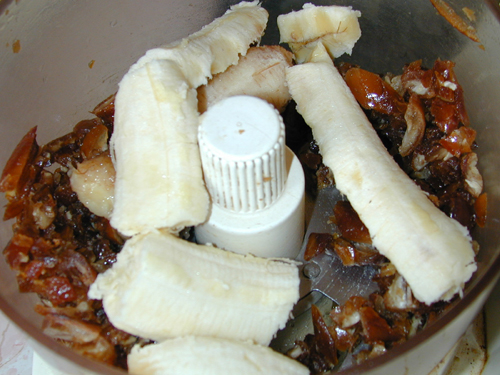
In batch number two, I added the banana (2 of them) and cinnamon powder. So I didn’t need to add water. This I processed smooth.
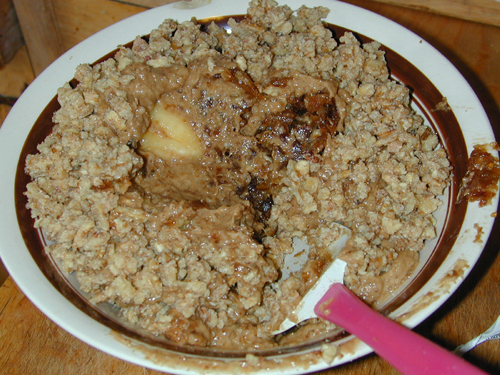
After removing them, I put in the nuts. I was going to use pecans but they weren’t good so I used the only nuts I had, which were walnuts. Process into small chunks. Then mix everything together.
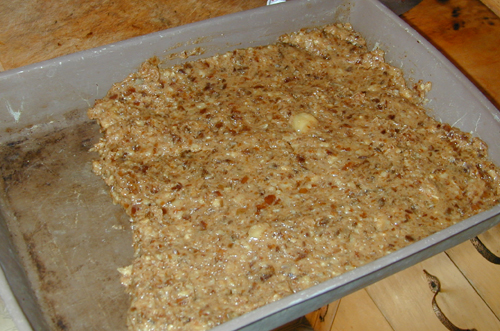
Put into a pan. This batch is thick enough that even choosing a pan that was too big didn’t hurt anything. Aim for 1/2 to 2/3″ thick. No need to grease the pan.
Technically, these aren’t raw, despite the tag, but they can be made raw. If I had a dehydrator, I would use it. But I don’t, so I just set the oven to the lowest setting, 150*F. They only took a couple of hours for the main drying. When you can do so easily, cut into large pieces and flip them over. After another hour or so, cut into smaller bars and prop up.
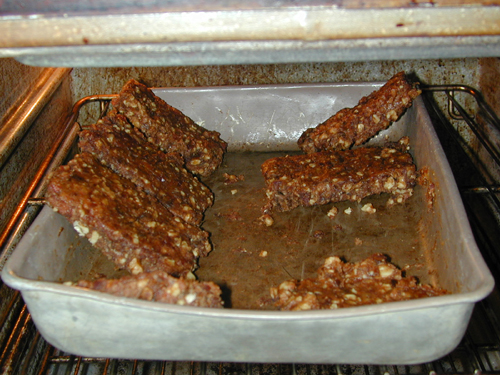
The total amount of time will depend on how much water was in your ingredients and added, the temperature of your oven or dehydrator, air flow, your pan, and various other factors. I was cooking other things so just left the oven on for a while through-out the day, and finished them off the next day.
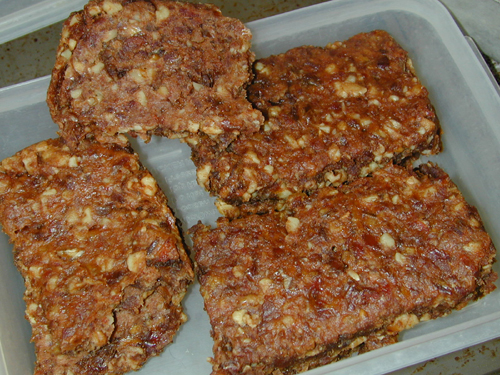
What you want is something soft enough to cut and bite into easily but dry enough that it’s no longer sticky. In theory these should be safe to leave out covered at room temperature but I store them in the fridge. They are best when back at room temperature or warm from the oven.

0 responses so far ↓
There are no comments yet...Kick things off by filling out the form below.
Leave a Comment