On a recent trip to Vancouver, Canada, I admired my hosts’ towering apple tree, as well as the superior taste of the apples. When I found out they simply composted them, I vowed to turn them into something useful.
First, I collected 24 hours worth of fallen apples.
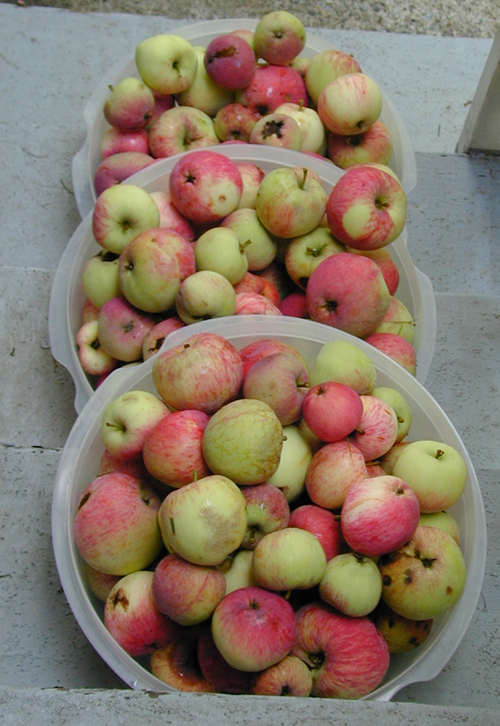
Apples in bowls waiting for processing
Next, I cut away the bad parts (nice organic, untreated, apples with some worms, impact bruising, and other spots) and cut the apples into quarters.
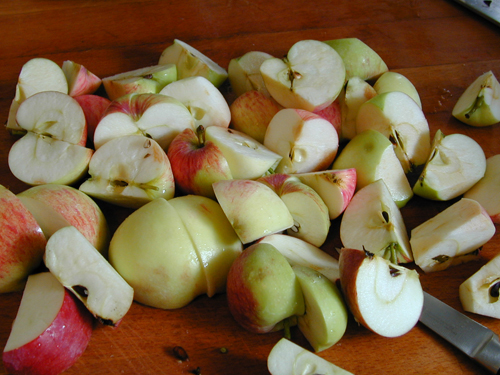
Cut apples
Then I trimmed out all the cores and any bad spots I missed. I like my sauce with skins left on. They add more depth of flavor, nutrition, and don’t change the texture much. Plus it saves a ton of time.
Toss some fresh lemon juice in the bowl to reduce browning.
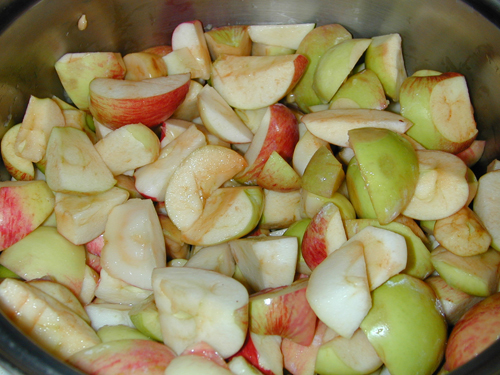
Apples ready for the cook pot
Cook on low heat and stir every few minutes. After a few minutes, they look like this. Add a touch of salt to help them fall apart. If you’re adding sweetener or spices, this is a good time.
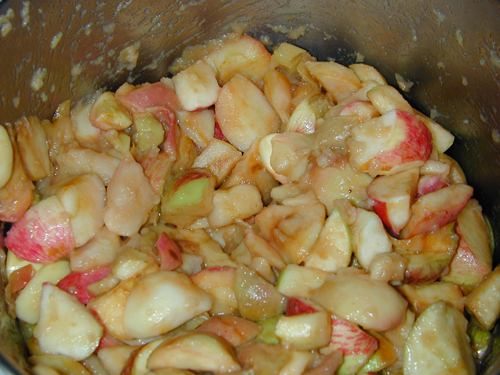
A few more minutes and they’ll look like this. If you want apple butter, cook them even longer.
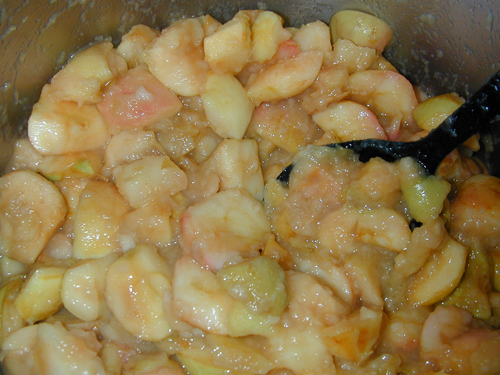
Apples ready to be made into sauce
Now you can turn them into sauce.
First though, here’s how not to sauce them.
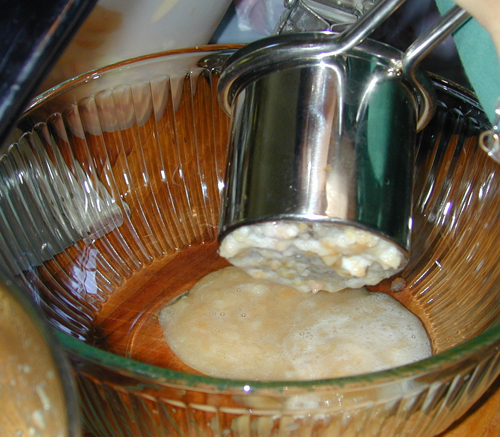
A ricer doesn't work on applesauce
The ricer seemed like a good idea at the time. But it took a whole lot of pressure just to come up with mostly liquid. It helped to swap the end-piece for one with bigger holes, but only marginally. So, off to the food processor we went!
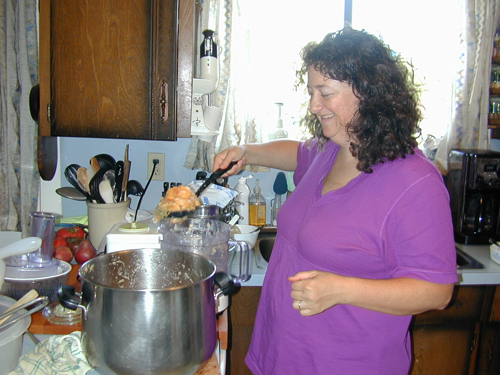
Cyndi putting the cooked apples into the food processor
Don’t overload the food processor. And just pulse the apples a few times so you don’t over process them. I like my applesauce chunky but you can go further and make them smoother.
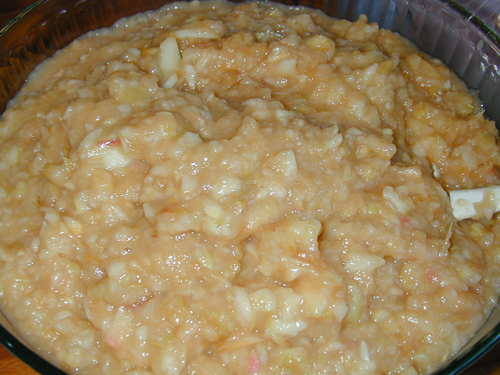
Perfect applesauce
At this point, it’s ready to eat. I love it chilled. Our host was planning on using it warmed on pork chops and putting it into recipes. Because of the latter possibility, we measured it into bags two cups at a time. Then we labelled and froze them. I’ve tasted some of the thawed sauce and it’s fabulous. The taste and texture don’t suffer a bit for being frozen.
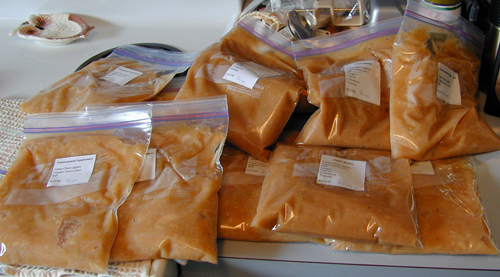
Applesauce ready for the freezer
We made two recipes:
Unsweetened Applesauce
Apples
Lemon juice
SaltApple Butter
Apples
Lemon juice
Salt
Ginger
Cloves
Cinnamon
Nutmeg


0 responses so far ↓
There are no comments yet...Kick things off by filling out the form below.
Leave a Comment